


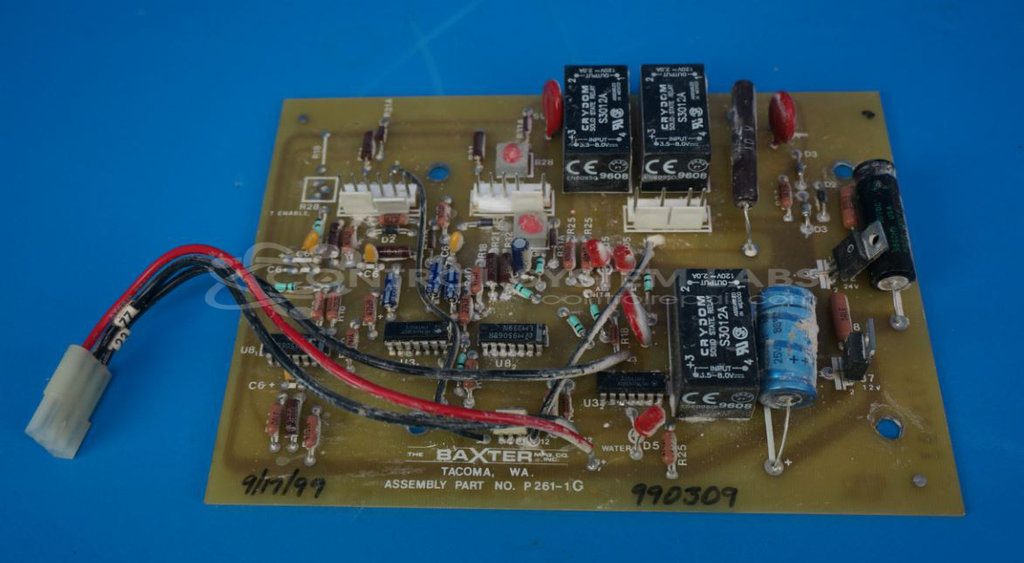


Repair
Repair Price: $ 352.00
Purchase
CSL Part Number: 82761
Product Overview: The Baxter P261-1G is a control board used in industrial paper processing equipment, specifically designed to manage solenoid valve operations. It features multiple voltage regulators providing 12V and 24V outputs, relay-based switching circuits, and a 120V isolator stage (U10). The board contains numerous electrolytic capacitors that are subject to aging and require periodic replacement during service. It is commonly found in Baxter's poof box systems where it controls pneumatic or hydraulic valve actuation for paper manufacturing processes.
Category: Control Board
Manufacturer: Baxter Manufacturing
Manufacturer Part Number: P261-1G
Common Failures
This product has experienced issues primarily due to component wear, particularly electrolytic capacitors. Another noted problem involved the control circuit to the solenoid valve.
Repair Approach
For capacitor-related issues, replacement of electrolytic capacitors has addressed the defects. In the case of solenoid control circuit issues, diagnostic testing was conducted, focusing on relay contact operation and voltage output at specific circuit points. Testing included verifying the functionality of the isolator and checking for other potential faults.
Testing & Quality
Post-repair, units undergo testing, including load burn-in tests and relay contact checks. Each unit is reviewed by team members to ensure quality standards are met. Repairs that pass testing are returned as serviceable.
Service and repair your broken Baxter Manufacturing part
We can repair your Baxter Manufacturing model P261-1G in our facility. Let our skilled technicians get your Baxter Manufacturing back in operation quickly.
Step 1 - Click the green 'Repair Now' button above to add the part and then complete the RMA.
Step 2 - The RMA form will be sent to you via email. Print the RMA form and put it in a box with the item(s) for repair.
Step 3 - Ship or mail the box to the address listed on the RMA.
Once the user has seen at least one product this snippet will be visible.