




Repair
Repair Price: $ 988.00
Purchase
CSL Part Number: 31538
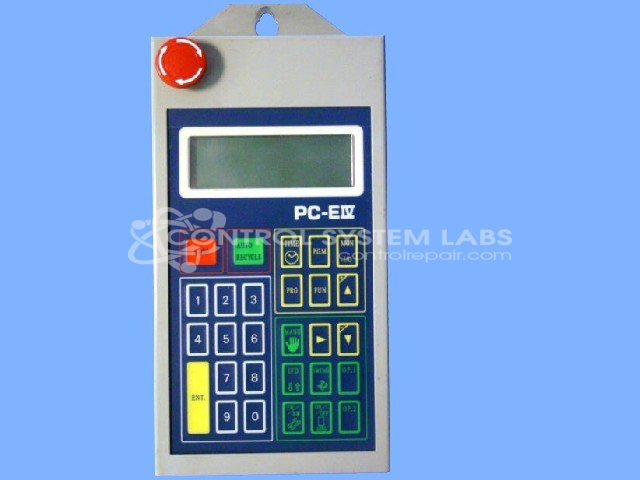
Product Overview: A handheld pendant controller for pneumatic sprue pickers used in plastics and injection molding operations. It lets operators input setup parameters, monitor inputs and outputs, change operating modes, and display errors, enabling configuration of the picker for specific products. Features an emergency stop switch and onboard DC-DC conversion.
Category: Robotic
Manufacturer: Conair
Manufacturer Synonyms: IPEG, Franklin
Manufacturer Part Number: PC-E IV (PC-E4)
Also Known As(AKA): PC-E 4
The sprue picker hand control allows you to input setup information, monitor inputs and outputs, change modes, and display errors. With it you can configure your pneumatic sprue picker for your product.
Common Failures
Several common issues have been identified with this product. Customers have reported problems such as the device not powering up, alarms sounding upon connection, running slowly, and screen display issues. These problems have been traced to faulty or aged components, including the emergency switch, control knob, DC-DC converter, and capacitors.
Repair Approach
Repairs typically involve replacing malfunctioning components. The emergency switch, control knob, DC-DC converter, and aged capacitors are among the parts frequently replaced. In cases of programming errors, EPROMs and related software are repaired or updated. The repair process may also include a burn-in period to verify functionality of the repaired units.
Testing & Quality
Testing is performed after repairs. For instance, the unit may be subjected to a burn-in procedure, ranging from one hour to a week, depending on the severity or recurrence of the issue. Each repair is reviewed and checked by our team to maintain quality standards.
Service and repair your broken Conair part
We can repair your Conair model PC-E IV (PC-E4) in our facility. Let our skilled technicians get your Conair back in operation quickly.
Step 1 - Click the green 'Repair Now' button above to add the part and then complete the RMA.
Step 2 - The RMA form will be sent to you via email. Print the RMA form and put it in a box with the item(s) for repair.
Step 3 - Ship or mail the box to the address listed on the RMA.
Once the user has seen at least one product this snippet will be visible.