


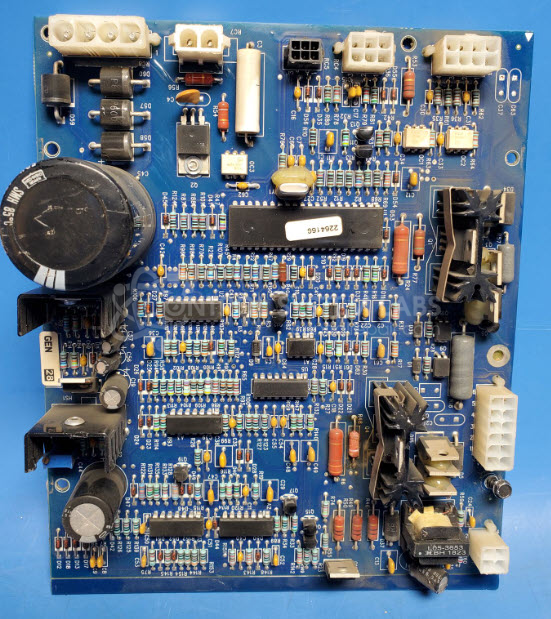


Repair
Repair Price: $ 534.00
Purchase
CSL Part Number: 112804
Product Overview: The Miller Electric 249885 C is a control board for the Millermatic 252 MIG welder. It manages welding functions including wire feed motor control and power regulation. The board features a P-channel MOSFET (Q4) that drives the feed motor output, along with gate driver circuitry and protective components. It operates in demanding industrial welding environments and controls the delivery of welding wire during metal joining operations.
Category: Welders
Manufacturer: Miller Electric
Manufacturer Part Number: 249885 C
Also Known As(AKA): MJ-36
It's important to note that this part is compatible with Millermatic 252 units within the serial number range MB030070N through MB030479N. For serial numbers outside this range, compatibility should be verified before installation.
Common Failures
This product may experience damage related to electrical issues from external sources, such as a shorted motor. A recurring issue involves the failure of a key transistor (P-channel MOSFET), sometimes accompanied by visible damage to resistors and associated components on the control board.
Repair Approach
Repairs may involve the replacement of damaged components, including the MOSFET and potentially affected resistors. Maintenance may include replacing thermal interface materials to reduce heat buildup.
Testing & Quality
After repairs, diagnostic testing is conducted to verify the functionality of key components, such as the gate driver transistor and associated resistors. The board may be protected with a conformal coating to safeguard against environmental factors. Final testing checks for shorts from the motor output and validates the integrity of the repaired components.
Service and repair your broken Miller Electric part
We can repair your Miller Electric model 249885 C in our facility. Let our skilled technicians get your Miller Electric back in operation quickly.
Step 1 - Click the green 'Repair Now' button above to add the part and then complete the RMA.
Step 2 - The RMA form will be sent to you via email. Print the RMA form and put it in a box with the item(s) for repair.
Step 3 - Ship or mail the box to the address listed on the RMA.
Once the user has seen at least one product this snippet will be visible.