




Repair
Repair Price: $ 600.00
Purchase
CSL Part Number: 82079
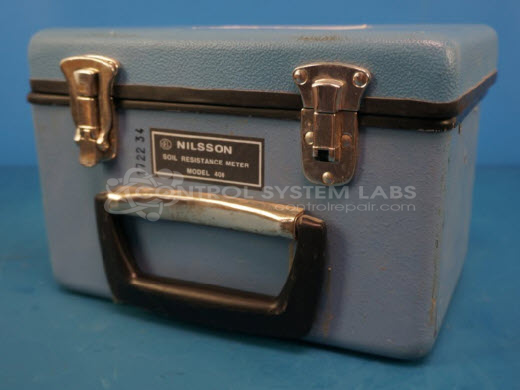
Product Overview: The Nilsson Electrical 400 is a soil resistance meter used for measuring ground resistance in electrical systems and buried infrastructure. It is part of the Pipe and Cable Locater series and provides resistance measurements across multiple ranges (100 ohms to 100K ohms). The unit features a front panel potentiometer for calibration, multiplier switch for range selection, and accessory wire connections including both loose leads and a roller configuration. This portable field instrument is commonly used in utility work, grounding system testing, and underground cable location applications.
Category: Test Equipment
Manufacturer: Nilsson Electrical
Manufacturer Part Number: 400
Series: Pipe and Cable Locater
Why overspend to replace your meter? We can repair your reliable Nilsson 400 for a fraction of the replacement cost.
Common Failures
Common issues reported with the Nilsson Model 400 include unusual fluctuation in certain readings. Potential causes may include a defective potentiometer, which may exhibit a rough spot or broken hold-downs. Wear and tear on the unit can also cause loose multiplier switch knobs and frayed wires.
Repair Approach
The repair process may involve replacing a faulty potentiometer and electrolytic capacitors as needed. Loose components may be secured, and frayed wires may be resoldered. Cleaning of the board and de-oxidization of contacts on knobs and switches may also be performed.
Testing & Quality
Following repair, the unit is calibrated and tested to verify functionality. Critical functions are confirmed to be operational.
Service and repair your broken Nilsson Electrical part
We can repair your Nilsson Electrical model 400 in our facility. Let our skilled technicians get your Nilsson Electrical back in operation quickly.
Step 1 - Click the green 'Repair Now' button above to add the part and then complete the RMA.
Step 2 - The RMA form will be sent to you via email. Print the RMA form and put it in a box with the item(s) for repair.
Step 3 - Ship or mail the box to the address listed on the RMA.
Once the user has seen at least one product this snippet will be visible.